
Pondering about joining Cleanfeed? Perhaps you’re thinking.. ‘hrm, I wonder how I should set things up?’. Well, let me put to rest some myths and help give you a better understanding of how Cleanfeed works and how you can get started.
Cleanfeed makes it super easy to send and receive high quality audio over the Internet, so the possibilities of what you can do are endless!
Stage 1: Microphones & Headphones
Let’s face it, you’ve come to Cleanfeed because you’ve heard how awesome our service is at transmitting and recording high quality audio over the web, right? We want to ensure that whatever you’re sending across, via Cleanfeed is in the best quality from the get-go.
While we have our own biased view on which microphones and headphones you should use, you ought to take your own time to look into which pair work best for you.
Note; you may find that the most expensive microphone may not necessarily be for you! In fact, Michael Jackson himself recorded on quite a standard broadcast microphone, it just suited his tone of voice the best..!
There are some notable microphone and headphone manufacturers: Neumann, Shure, AKG, Beyerdynamic etc. But we recommend trying some out yourself and seeing which work best for you and your application.
Stage 2: Connecting Up
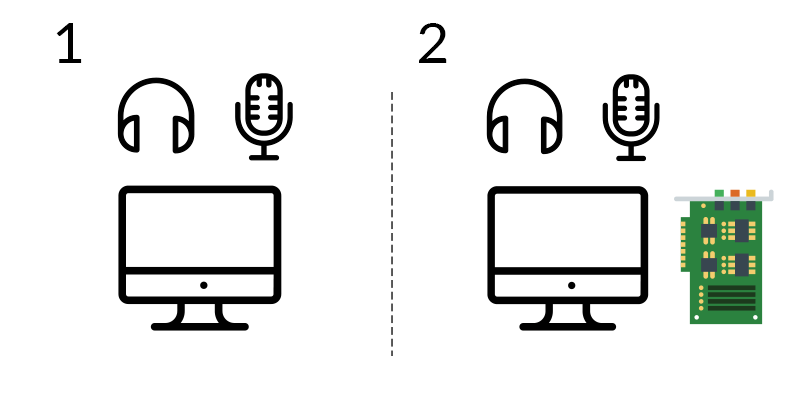
You can connect headphones and microphones to your computer in a variety of ways. If you have just a simple USB microphone and headphone set, well – congratulations you’re all setup and ready to go.
Perhaps you’re connecting things into your built-in soundcard on your PC or Mac (or Android!); then you should be good to go (fig.1).
For more professional audio use, we recommend using some sort of audio interface. These come in many shapes and sizes; some USB.. some on PCI Express cards, but just ensure that if you are dealing with professional balanced audio (XLR and Jack connectors), that you connect these to a good-quality soundcard of your choice. This will ensure the best way of interfacing your audio with your PC or Mac.
Stage 3: Signing up and setting up Cleanfeed
Are you getting audio to and from your device or machine? Now you’re ready to start using Cleanfeed!
If you haven’t already, open up Google Chrome and sign up at http://cleanfeed.net (for free) to create your first studio login…
Our signup process is so easy, once you’re finished it will take you right to your very own studio panel.
The studio:
We’ve designed the Cleanfeed studio panel to be easy to use and good to look at. No complex transistors to twiddle, a few clicks will get you to where you need to go.
However, the first time you start Cleanfeed you’ll be asked a few things (by Chrome)…
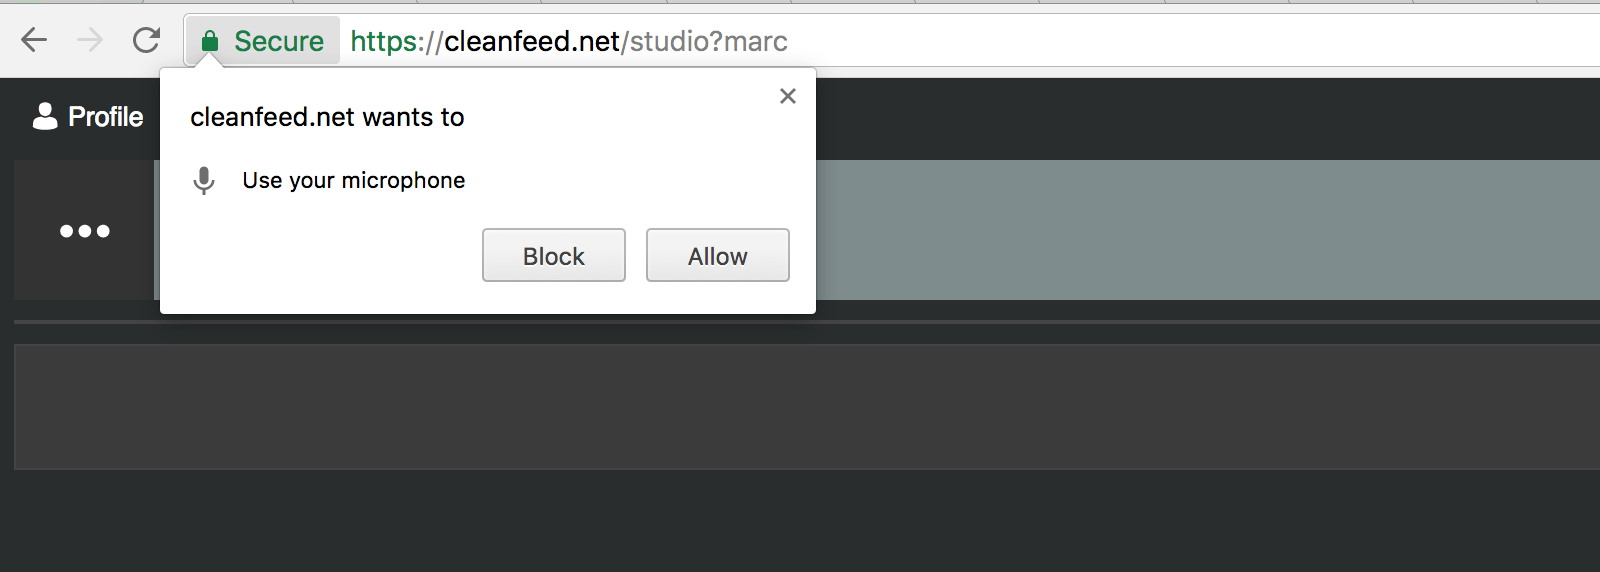
1. Allow your microphone! For Cleanfeed to work, you’ll need to allow Chrome to access your computers audio. Hit the ‘allow’ button to accept this.
2. To check you’re using the correct audio input device; click the little ‘webcam’ button in the right of the address bar. Here you will be able to define your preferences for how Chrome will use your input device with Cleanfeed. Click on ‘Manage media settings…’ for more options.
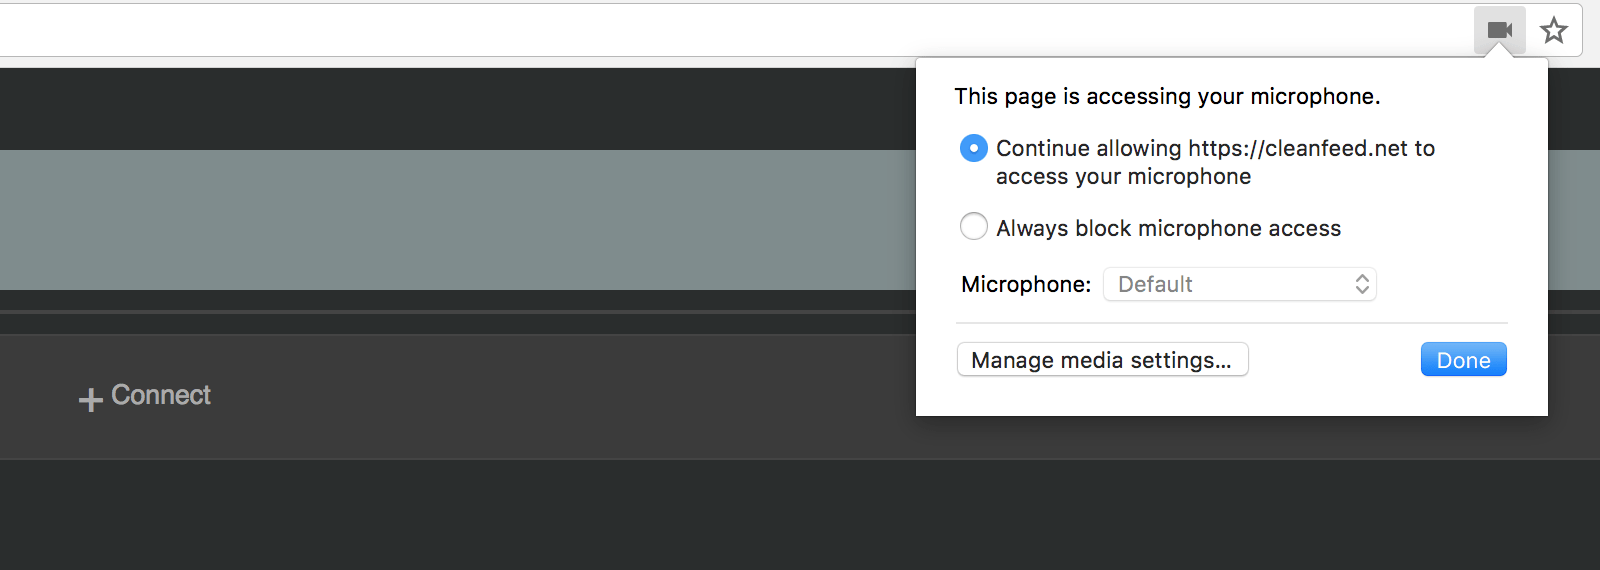
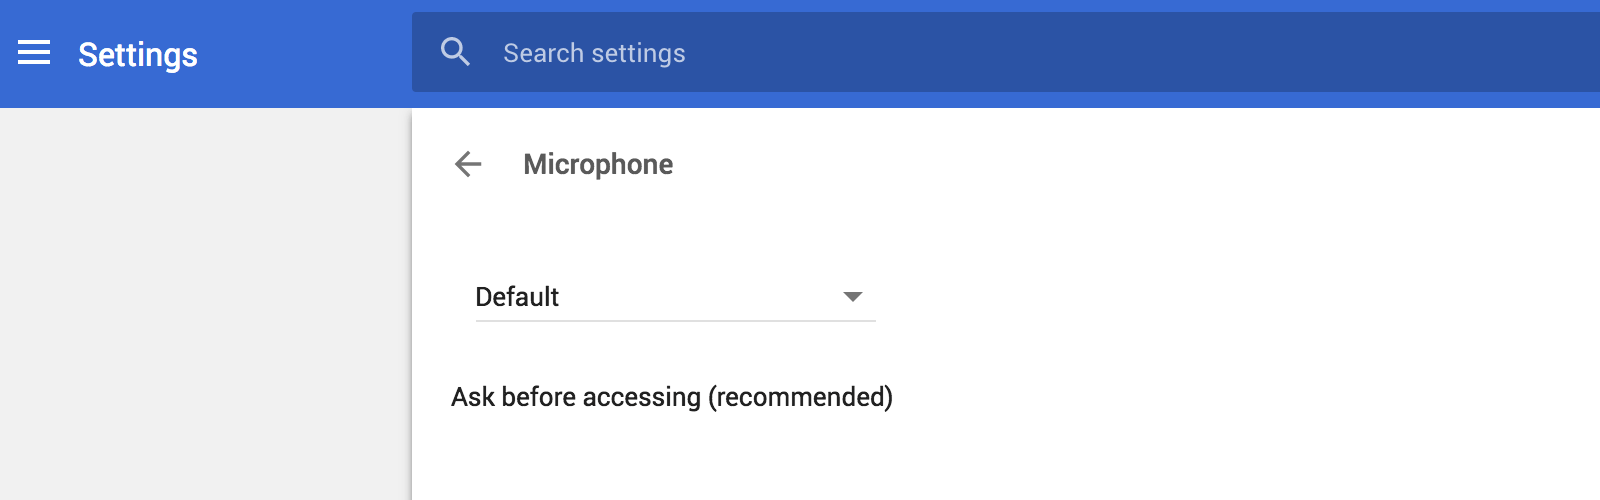
3. Here you can define which input you want to use with Cleanfeed. At the minute I have mine set to use my default system audio (on Mac); but drop down this menu to get more options which are specific to your setup. Once you’re done, close this tab and refresh your Cleanfeed studio panel.
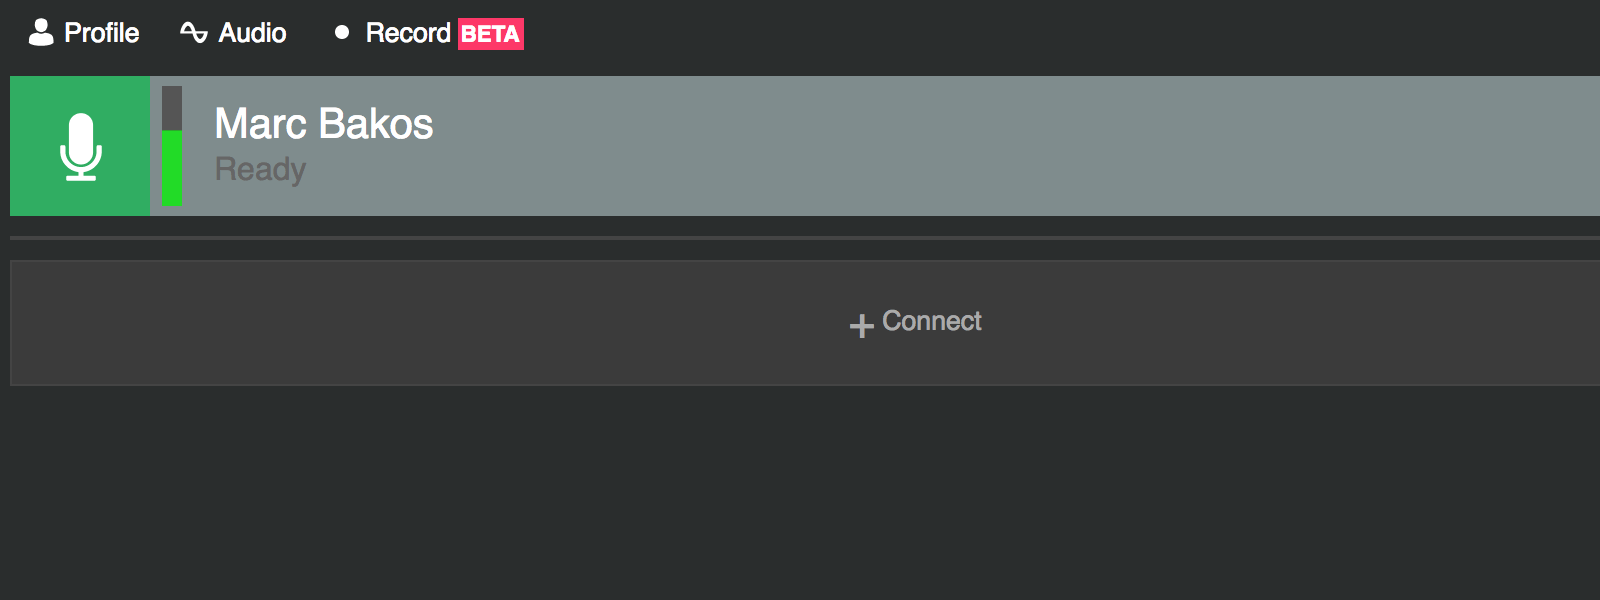
4. All done? When you have audio flowing into Cleanfeed you will see your studio panel looking similar to mine below. The audio meter going up and down (when you speak or play audio through your input); and a green microphone icon notifying that you’re ready to make your first connection. Remember, to ensure your audio remains ‘clean’, make sure your audio levels are always in the green zone! If it’s red, your audio is too loud and needs to be adjusted down.
Stage 4: Making your first connection
You’re now ready to make your first Cleanfeed connection. I guess the only down-side to this part is finding someone to make a connection with. Fear not, Cleanfeed makes it simple (and free) to send anyone an invite to connect through to your studio, even if you just want to test! Ensure your contributor has Google Chrome and a simple microphone and headphone setup and you should be good to go.
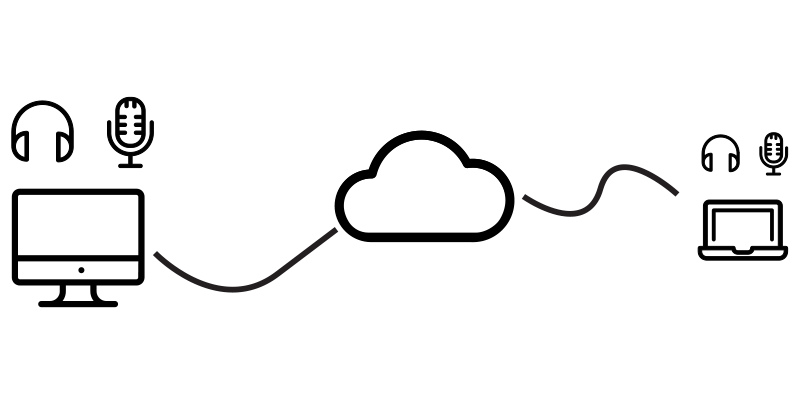
The aim is to make a 1:1 (one-to-one) connection, via Cleanfeed and the Internet.
Something a bit like this:
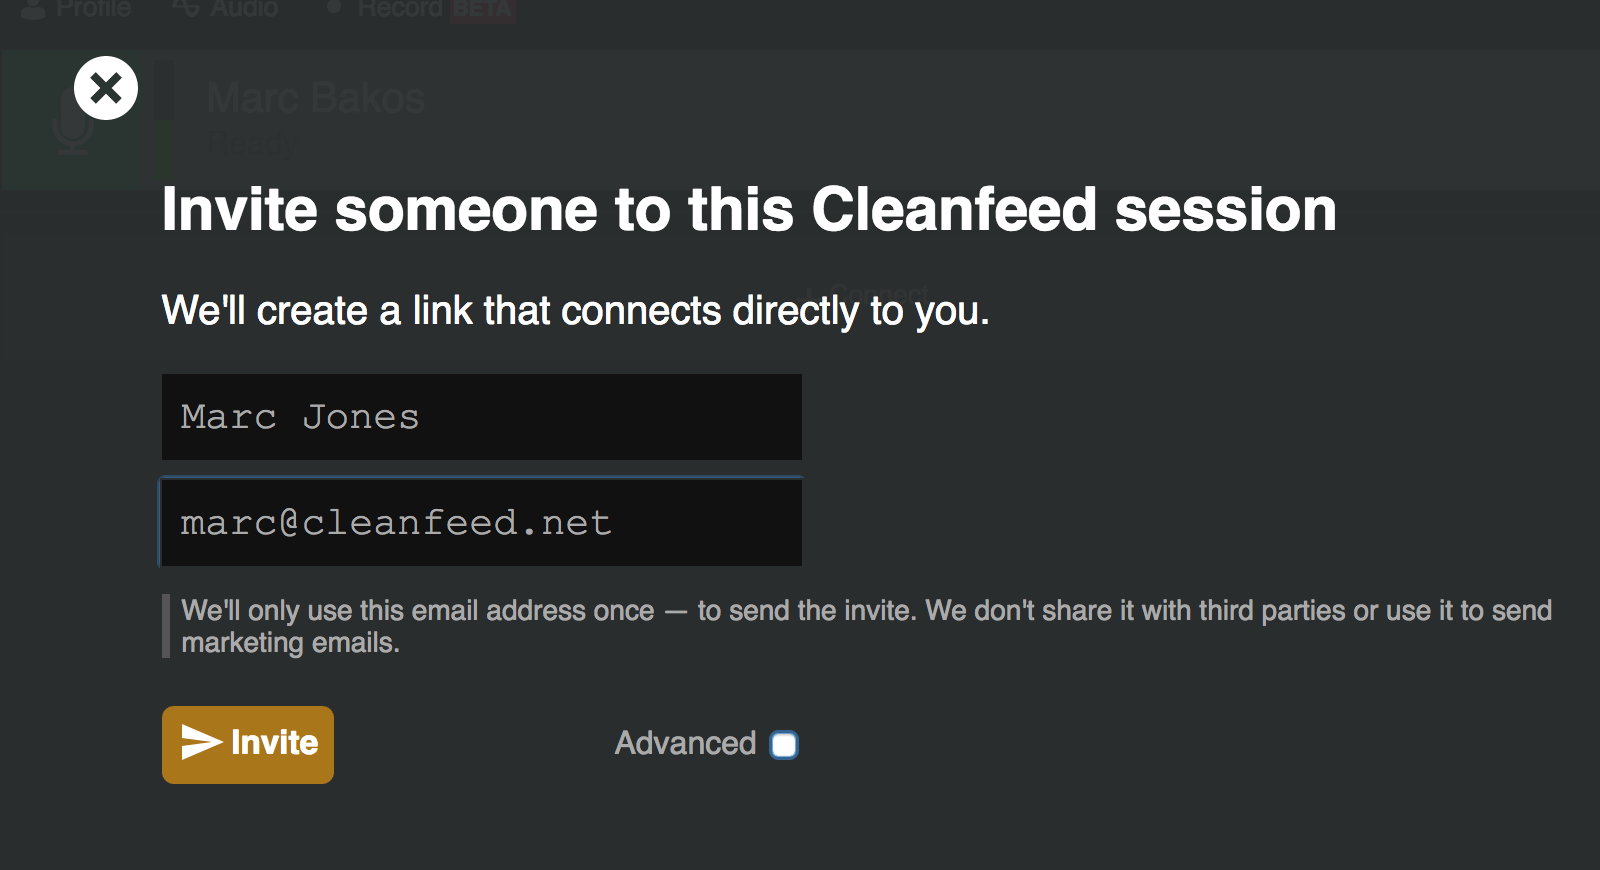
1. The simplest way to get going is to click ‘+connect’ in your Cleanfeed studio. Enter the name and email of the contributor you’d like to connect with, and click ‘Invite’.
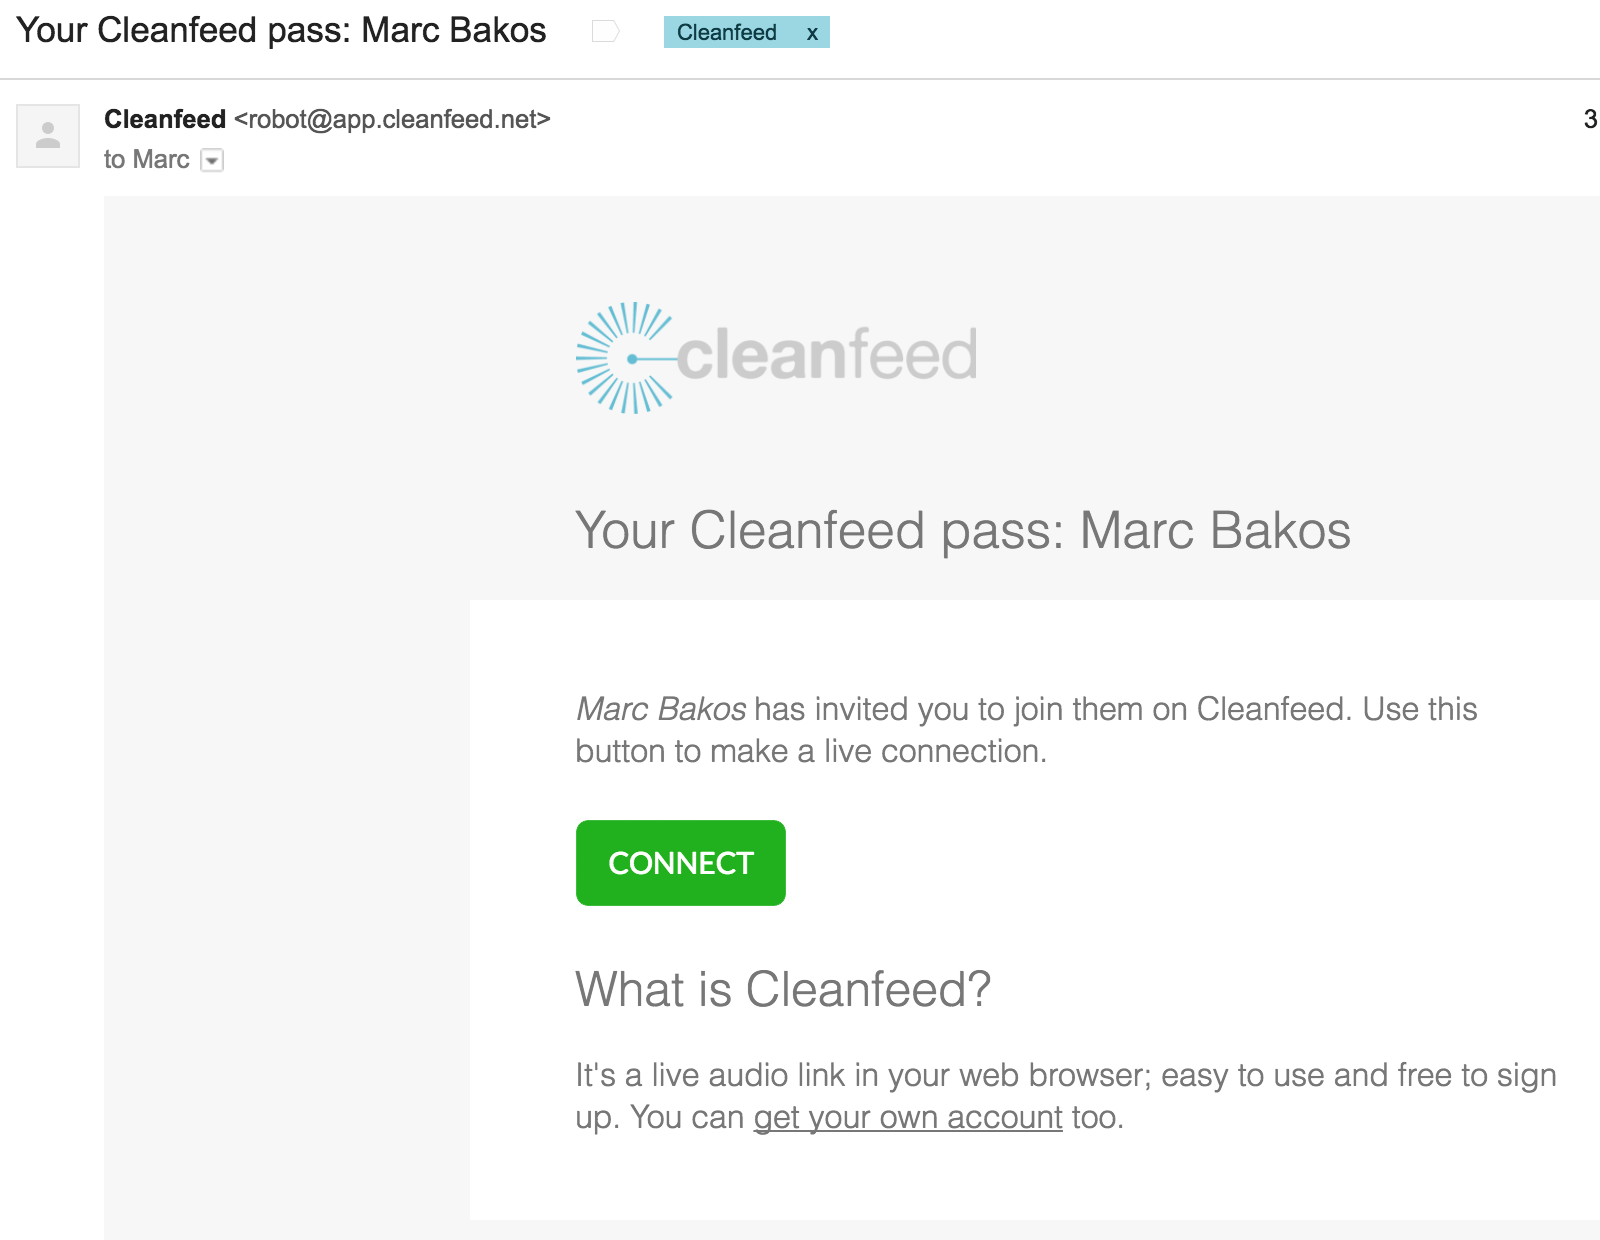
2. Your contributor should then receive an email; similar to the one below. Advise them click the ‘Connect’ link, open with Chrome to get started.
Note: Your contributor will also have to accept and setup their microphone and headphones as you did in ‘Stage 3’ – so refer them to this page so they can get going as well.
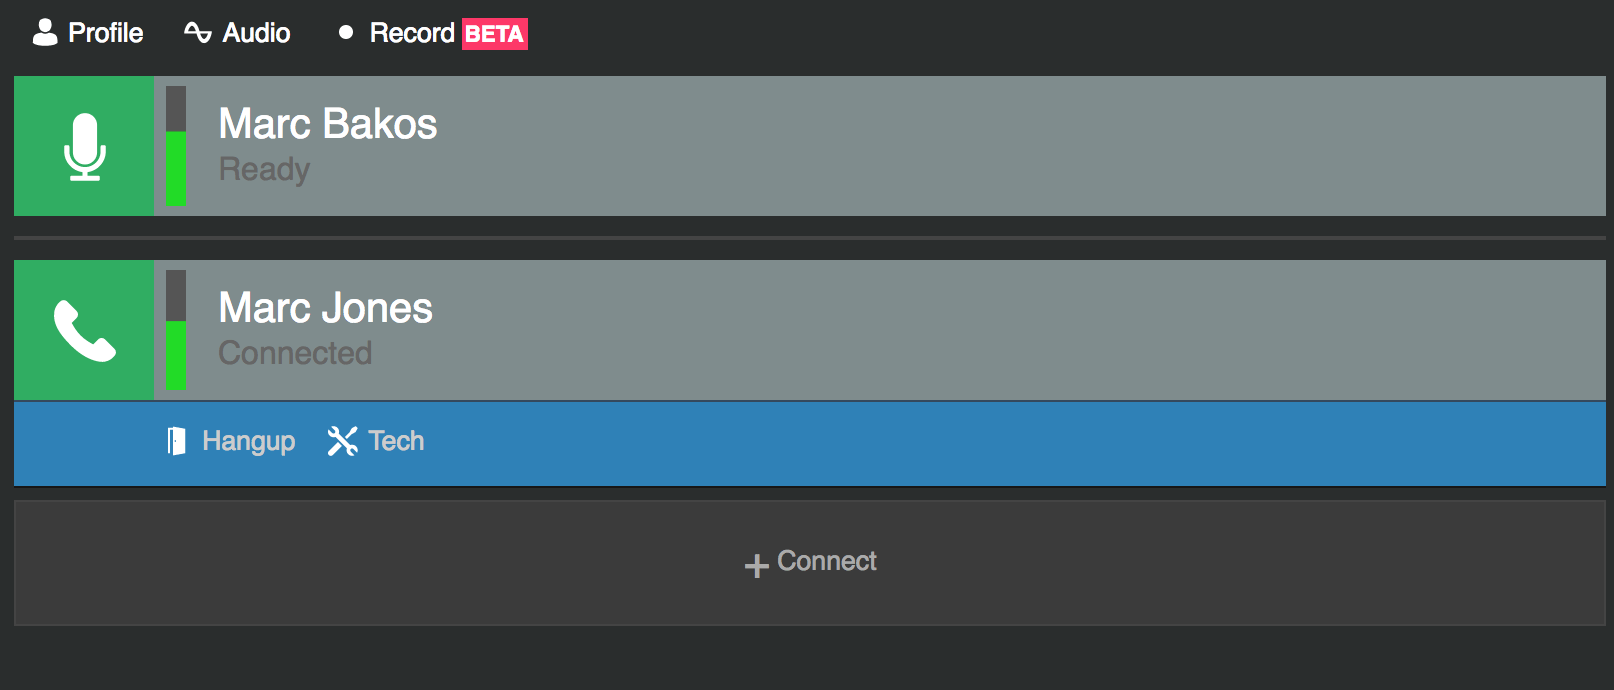
3. Once your contributor is all setup and running, they’ll automatically join your session.
Providing all things went well, you should have made your first high-quality connection with Cleanfeed!
Summary
I guess that summarises ‘getting started’ with Cleanfeed. We hope this has been helpful?
There are (obviously) more complex ways you can utilise Cleanfeed; connecting your computer to advanced mixing desks; routing multiple combined channels of audio across the Internet, for example. The possibilities of high-quality, low latency connections are endless.
If you have any questions or would like to find out more about how Cleanfeed can help you, email feedback@cleanfeed.net and we’ll be happy to advise further regarding your considered use.